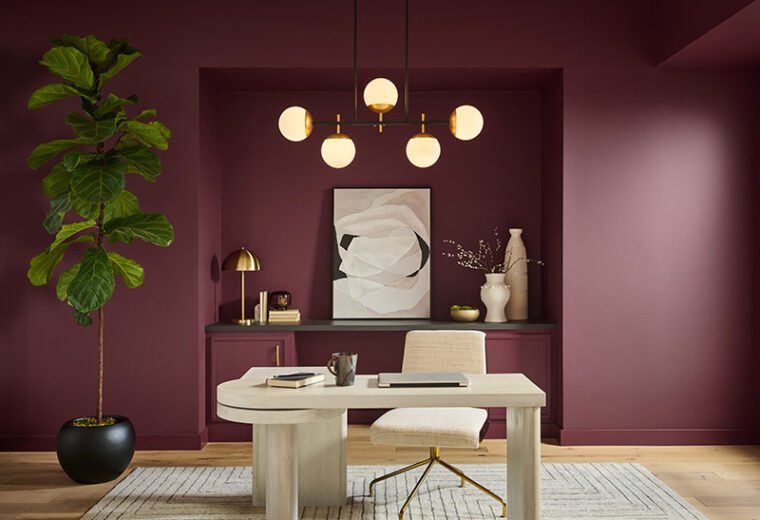
You’ve picked the color. Maybe you spent a week staring at three shade cards taped to the wall, tilting your head at different times of day like that actually helps (it does, a little). Now comes the part everyone underestimates: actually painting the thing. Learning how to paint a room like a pro isn’t about fancy equipment or years of training — it’s mostly about not skipping the boring steps. I’ve painted rooms both the rushed way and the careful way, and the difference in the final result is honestly night and day.
This guide walks through the whole process, start to finish, the way an experienced painter would actually do it — not the shortcut version you see in a five-minute YouTube clip.
What “Painting Like a Pro” Actually Means
Direct answer: Painting a room like a pro mostly comes down to preparation, not painting technique. Professionals spend roughly 60-70% of their total time on prep — cleaning, taping, sanding, priming — and the actual rolling and cutting-in takes up the rest. Skip prep, and even good paint looks amateur.
I know that’s not the exciting answer. People want to hear about brush techniques and rolling patterns, and sure, those matter. But if you tape crooked or paint over a dusty wall, no amount of technique saves you. A contractor I once watched work in a client’s flat in Jaipur spent almost two full hours on a single 12×14 room before he even opened a paint can. Two hours. Just cleaning, filling nail holes, sanding patches, and taping trim. That patience is really the whole secret.
Gather the Right Tools Before You Start
Running out mid-project to buy a missing roller tray is annoying and it breaks your rhythm. Get everything laid out first.
Here’s roughly what you’ll need for an average bedroom or living room:
- A good angled sash brush (2-2.5 inch) for cutting in corners and edges
- A roller frame with a 9-inch cage, plus 2-3 microfiber roller covers (cheap foam ones leave texture, skip them)
- Painter’s tape — the blue kind, not regular masking tape, which tends to peel paint off when removed
- Drop cloths or old bedsheets (plastic sheeting works but bunches up and is a slipping hazard)
- A 5-in-1 tool or putty knife for filling small holes and scraping
- Sandpaper, 120 and 220 grit
- Primer, if you’re changing colors dramatically or painting over a stain
- A paint tray with a grid insert, or a 5-gallon bucket with a roller grid if you’re doing a bigger room
Budget-wise, for a mid-sized Indian home, decent quality tools (brush, roller, tray, tape) usually run somewhere around ₹800 to ₹1,500 if you’re buying fresh rather than reusing old stuff. Not a huge outlay, and good brushes last for years if you clean them properly.
[link to related guide on choosing the right paint finish here]
Prep the Room Like You Mean It
This is the step people rush, and it shows every single time.
Start by moving furniture to the center of the room or out entirely, and cover whatever’s left with drop cloths. Remove switch plates and outlet covers — takes five minutes with a screwdriver and saves you from taping around awkward little rectangles.
Next, clean the walls. Grease near light switches, dust along the ceiling line, cobwebs in corners — all of it needs to go before paint touches the wall. A damp microfiber cloth works fine for most walls; kitchens near the stove might need a mild degreaser.
Fill any nail holes or dents with spackle, let it dry (usually 30 minutes to a couple hours depending on the size), then sand it smooth with the 220 grit paper. Wipe away the dust afterward — painting over sanding dust is a classic beginner mistake that leaves a gritty, uneven finish.
Finally, tape off trim, window frames, and door edges. Press the tape down firmly with your fingernail or the edge of the putty knife so paint doesn’t bleed underneath. Has this ever happened to you — you pull the tape off and half your edge is fuzzy and uneven? That’s almost always tape that wasn’t pressed down properly.
Prime When You Need To (Not Always)
Direct answer: You need primer when painting over a dark color with a lighter one, covering stains or water damage, painting bare drywall, or switching from oil-based to water-based paint. If you’re repainting a similar shade on an already-painted wall in good condition, you can often skip it.
I’ve had disagreements with people on this one. Some painters prime everything, every time, no exceptions. I think that’s overkill for most residential jobs and just adds cost and time for no real benefit. If your walls are in decent shape and you’re not making a drastic color jump, a good quality paint with built-in primer (most premium emulsions from Asian Paints, Berger, or Dulux offer this now) does the job in two coats.
Where I won’t compromise: bare plaster, patched drywall, or any wall that’s had water staining. Skip primer there and you’ll see the stain bleed right through your new paint within a few weeks. Not worth the risk.
Cut In the Edges Before You Roll
Cutting in means painting the edges — where the wall meets the ceiling, corners, around trim — with a brush before you bring in the roller. Professionals always cut in first because it’s far easier to roll up to a clean brushed edge than to try and brush around a rolled one later.
A few things that make a real difference here:
- Load the brush properly — dip about a third of the bristle length, tap off excess, don’t wipe it against the can rim (that just clogs the bristles)
- Work in short, controlled strokes rather than one long sweep
- Keep a slightly wet edge — don’t let cut-in paint dry before you roll over it, or you’ll get visible lap marks
- Do one wall’s edges, then roll that wall, then move to the next — don’t cut in the whole room first
This step takes patience more than skill. Rushing it is where most of those slightly wavy, uneven lines along the ceiling come from.
Roll the Right Way
Load your roller evenly — dip it in the paint, then roll it back and forth on the tray’s ridged section until it’s coated without dripping. An overloaded roller is the number one cause of drips and splatters.
Start about 2 inches away from the corner (avoid pushing right into a freshly cut-in edge with a loaded roller — you can create texture differences). Use a big “W” or “M” pattern to spread paint across a roughly 3×3 foot section, then go back and fill it in with vertical strokes, slightly overlapping each pass.
I’ll be honest: this feels tedious after the first fifteen minutes. Your arm gets tired, the pattern feels repetitive, and it’s tempting to speed up. Don’t. Consistent pressure and overlap is what gives you an even finish without roller marks or thin patches. A rushed roller job is obvious under any decent lighting.
How Many Coats Do You Actually Need?
Most rooms need two coats, full stop — even if the can says one-coat coverage. Manufacturers test that claim under ideal lighting and application conditions that rarely match a real room. Let the first coat dry fully (check the can, usually 2-4 hours) before applying the second.
Darker or more saturated colors sometimes need a third coat, especially reds and deep blues, which are notorious for uneven coverage. If you’re painting a bold accent wall and it still looks patchy after coat two, don’t panic — this is normal, not a sign you did something wrong. Give it one more pass.
Clean Up and Final Touches
Once the final coat’s dry to the touch (not fully cured — that can take up to two weeks for some paints), remove the painter’s tape at a 45-degree angle, pulling slowly rather than yanking. Pulling tape too fast, or waiting until the paint’s fully cured, increases the chance of it peeling paint off with it.
Reattach switch plates and outlet covers, move furniture back, and do a walk-around with a flashlight or your phone’s torch — natural daylight can hide small missed spots that show up under angled light. Touch up anything you find with a small artist’s brush rather than the full roller.
FAQ: How to Paint a Room Like a Pro
How long does it take to paint a room like a professional? For an average bedroom, budget a full weekend — one day for prep and the first coat, a second day for the final coat and cleanup. Professional crews move faster because there are usually two or three people working, but a solo DIY job realistically takes longer than most YouTube tutorials suggest.
Do I really need to buy expensive paint? Not necessarily expensive, but definitely decent quality. Cheaper paints often need three or four coats to get the same coverage a premium paint gets in two, so you can end up spending more time and sometimes more money overall.
Can I paint over wallpaper? Technically yes, but it’s risky — the wallpaper seams often show through, and moisture from the paint can loosen old adhesive. Removing the wallpaper first is more work upfront but gives a much more reliable result.
What’s the biggest mistake beginners make? Rushing the drying time between coats, honestly. Painting a second coat over a tacky first coat drags paint and creates an uneven, streaky finish that’s hard to fix without sanding back and starting over.
Should I paint the ceiling or walls first? Ceiling first, always. Paint drips and splatters happen no matter how careful you are, and it’s easier to touch up a wall than to protect a finished ceiling while you’re rolling below it.
How do I stop roller marks from showing? Keep a wet edge, don’t let sections dry before you blend into them, and avoid pressing too hard on the roller — light, even pressure with good overlap between passes is what prevents visible lines.
Wrapping Up
None of this is complicated, exactly. It’s just a lot of small, unglamorous steps that add up to a finish that actually looks intentional rather than rushed. If you take one thing away from this, let it be this: spend more time than feels necessary on prep, and don’t rush the drying time between coats. Those two habits alone will get you most of the way to a genuinely professional-looking result.
Pick one room to start with — not the whole house — and give yourself a full weekend without a hard deadline. You’ll learn more from that one room than from reading ten more guides like this one, and you’ll go into the next room a lot faster and more confident.